Here are some notes on Mick’s demonstration this week in which he tried to turn a cube within a cube. Versions in Word and PDF format can be downloaded at the bottom of this post.
Turning a cube within a cube
Here are some notes on the demonstration I gave at the club on 13th June. I took the idea from a video I saw on YouTube (see link below) by someone called Templeboy Turnings. I followed that general technique with just a few minor changes.
There is no way (to my knowledge) to calculate the diameter and depth of the holes that are needed, so some trial and error is required. One of the factors is the angle that the holes are undercut. I used a skew chisel to create the angles (kind of an internal dovetail).
The first stage is to make a cube. This could be done by sawing if it can be done accurately (±2 mm or so) AND to give good 90° angles between all the faces. Making the cube on the lathe isn’t difficult, it just takes a little time. It’s a standard party trick for metal turners.
You can start with a workpiece of any shape but its easy to use a bowl blank. The largest cube you can cut from a bowl blank of diameter D is D divided by 1.4. For example, a 90 mm cube will come from a 126 mm diameter blank BUT you also need a spigot for holding it so my blank diameter was 135 mm. AND the height of the bowl blank needs to be over 90 mm (say 100 mm) to allow for the other spigots.
Cut a mounting spigot on the end of the cylindrical workpiece (mine was a sycamore bowl blank) by mounting it between centres. Then mount it in the chuck using that spigot. Mark the mid length, which in my case was a little over 45 mm from both ends to allow for a little truing later. Mark a diameter across the end face, then a second diameter at right angles to the first. Continue those lines along the length of the workpiece. Where these latest 4 lines meet the mid length mark will be the centres of 4 of the cube’s faces.
Mount the workpiece between centres using 2 of these new mid point marks. You now have an odd shaped workpiece with two flat surfaces (the top and bottom of the original bowl blank) aligned with the lathe axis. Mark across the diameter of these flat surfaces across (not along) the lathe axis. Then make marks 45 mm to the left and 45 mm to the right. These will be some of the faces for the cube and will give a rough guide for the next step. Turn a spigot on the tailstock end of the workpiece, removing enough material to nearly reach the righthand line you just drew. Repeat this process for the other pair of marks on the curved surfaces. You now have a cube with 3 spigots. These spigots must not be on opposite faces to each other!
Now you need to mount the workpiece holding a plain end, with a spigot at the tailstock end. I used a set of large jaws with the workpiece cornerwise across the chuck. This technique creates dents on what will be finished faces. To avoid this I cut some 2 mm thick pieces of plastic to protect the workpiece. There may be better options. Cole jaws may work if they hold sufficiently well, but these usually have quite low speed limits set by the manufacturers. Remove the spigot and true the face. Now is a good time to sand. Then reverse the workpiece putting the newly sanded face into the chuck. Trim the free end (if necessary) to the final dimension (90 mm in my case), true it and sand it.
Repeat this process two more times to remove the remaining 2 spigots and true all 6 faces. You now should have a perfect cube. If not, remount and trim sufficient to make all edges the same length. The next step is to make a blind hole in the centre of each face.
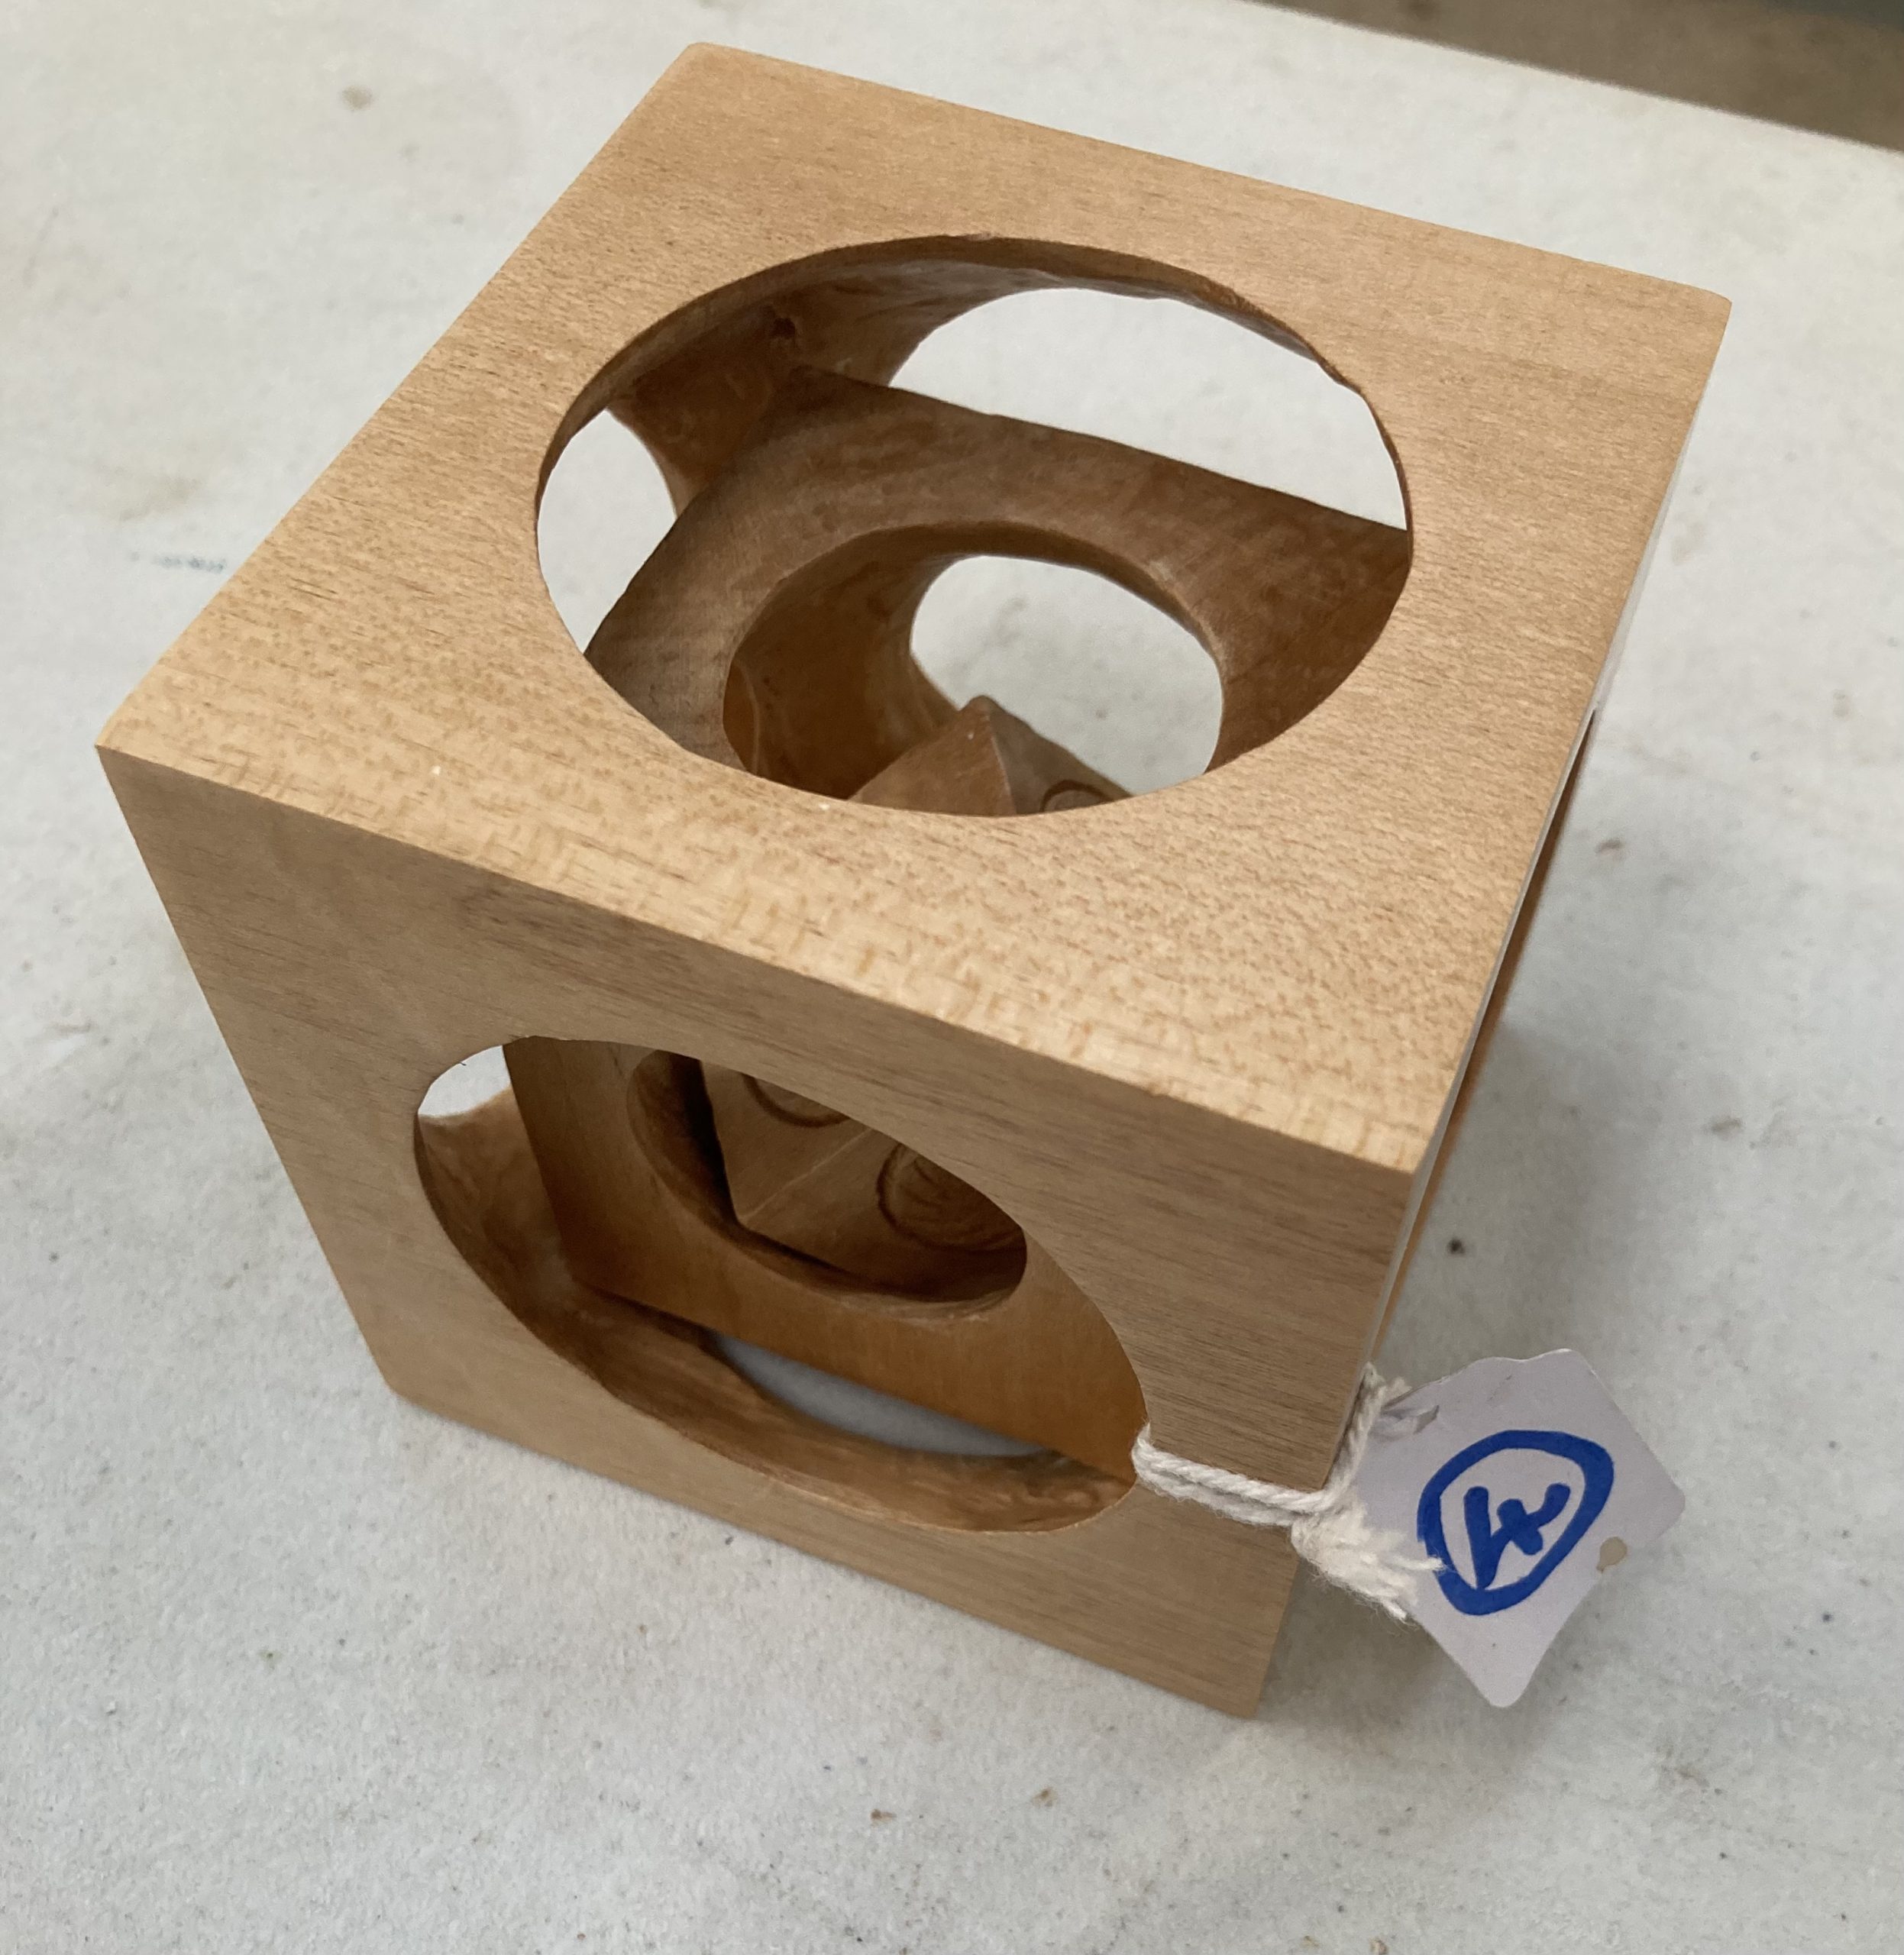
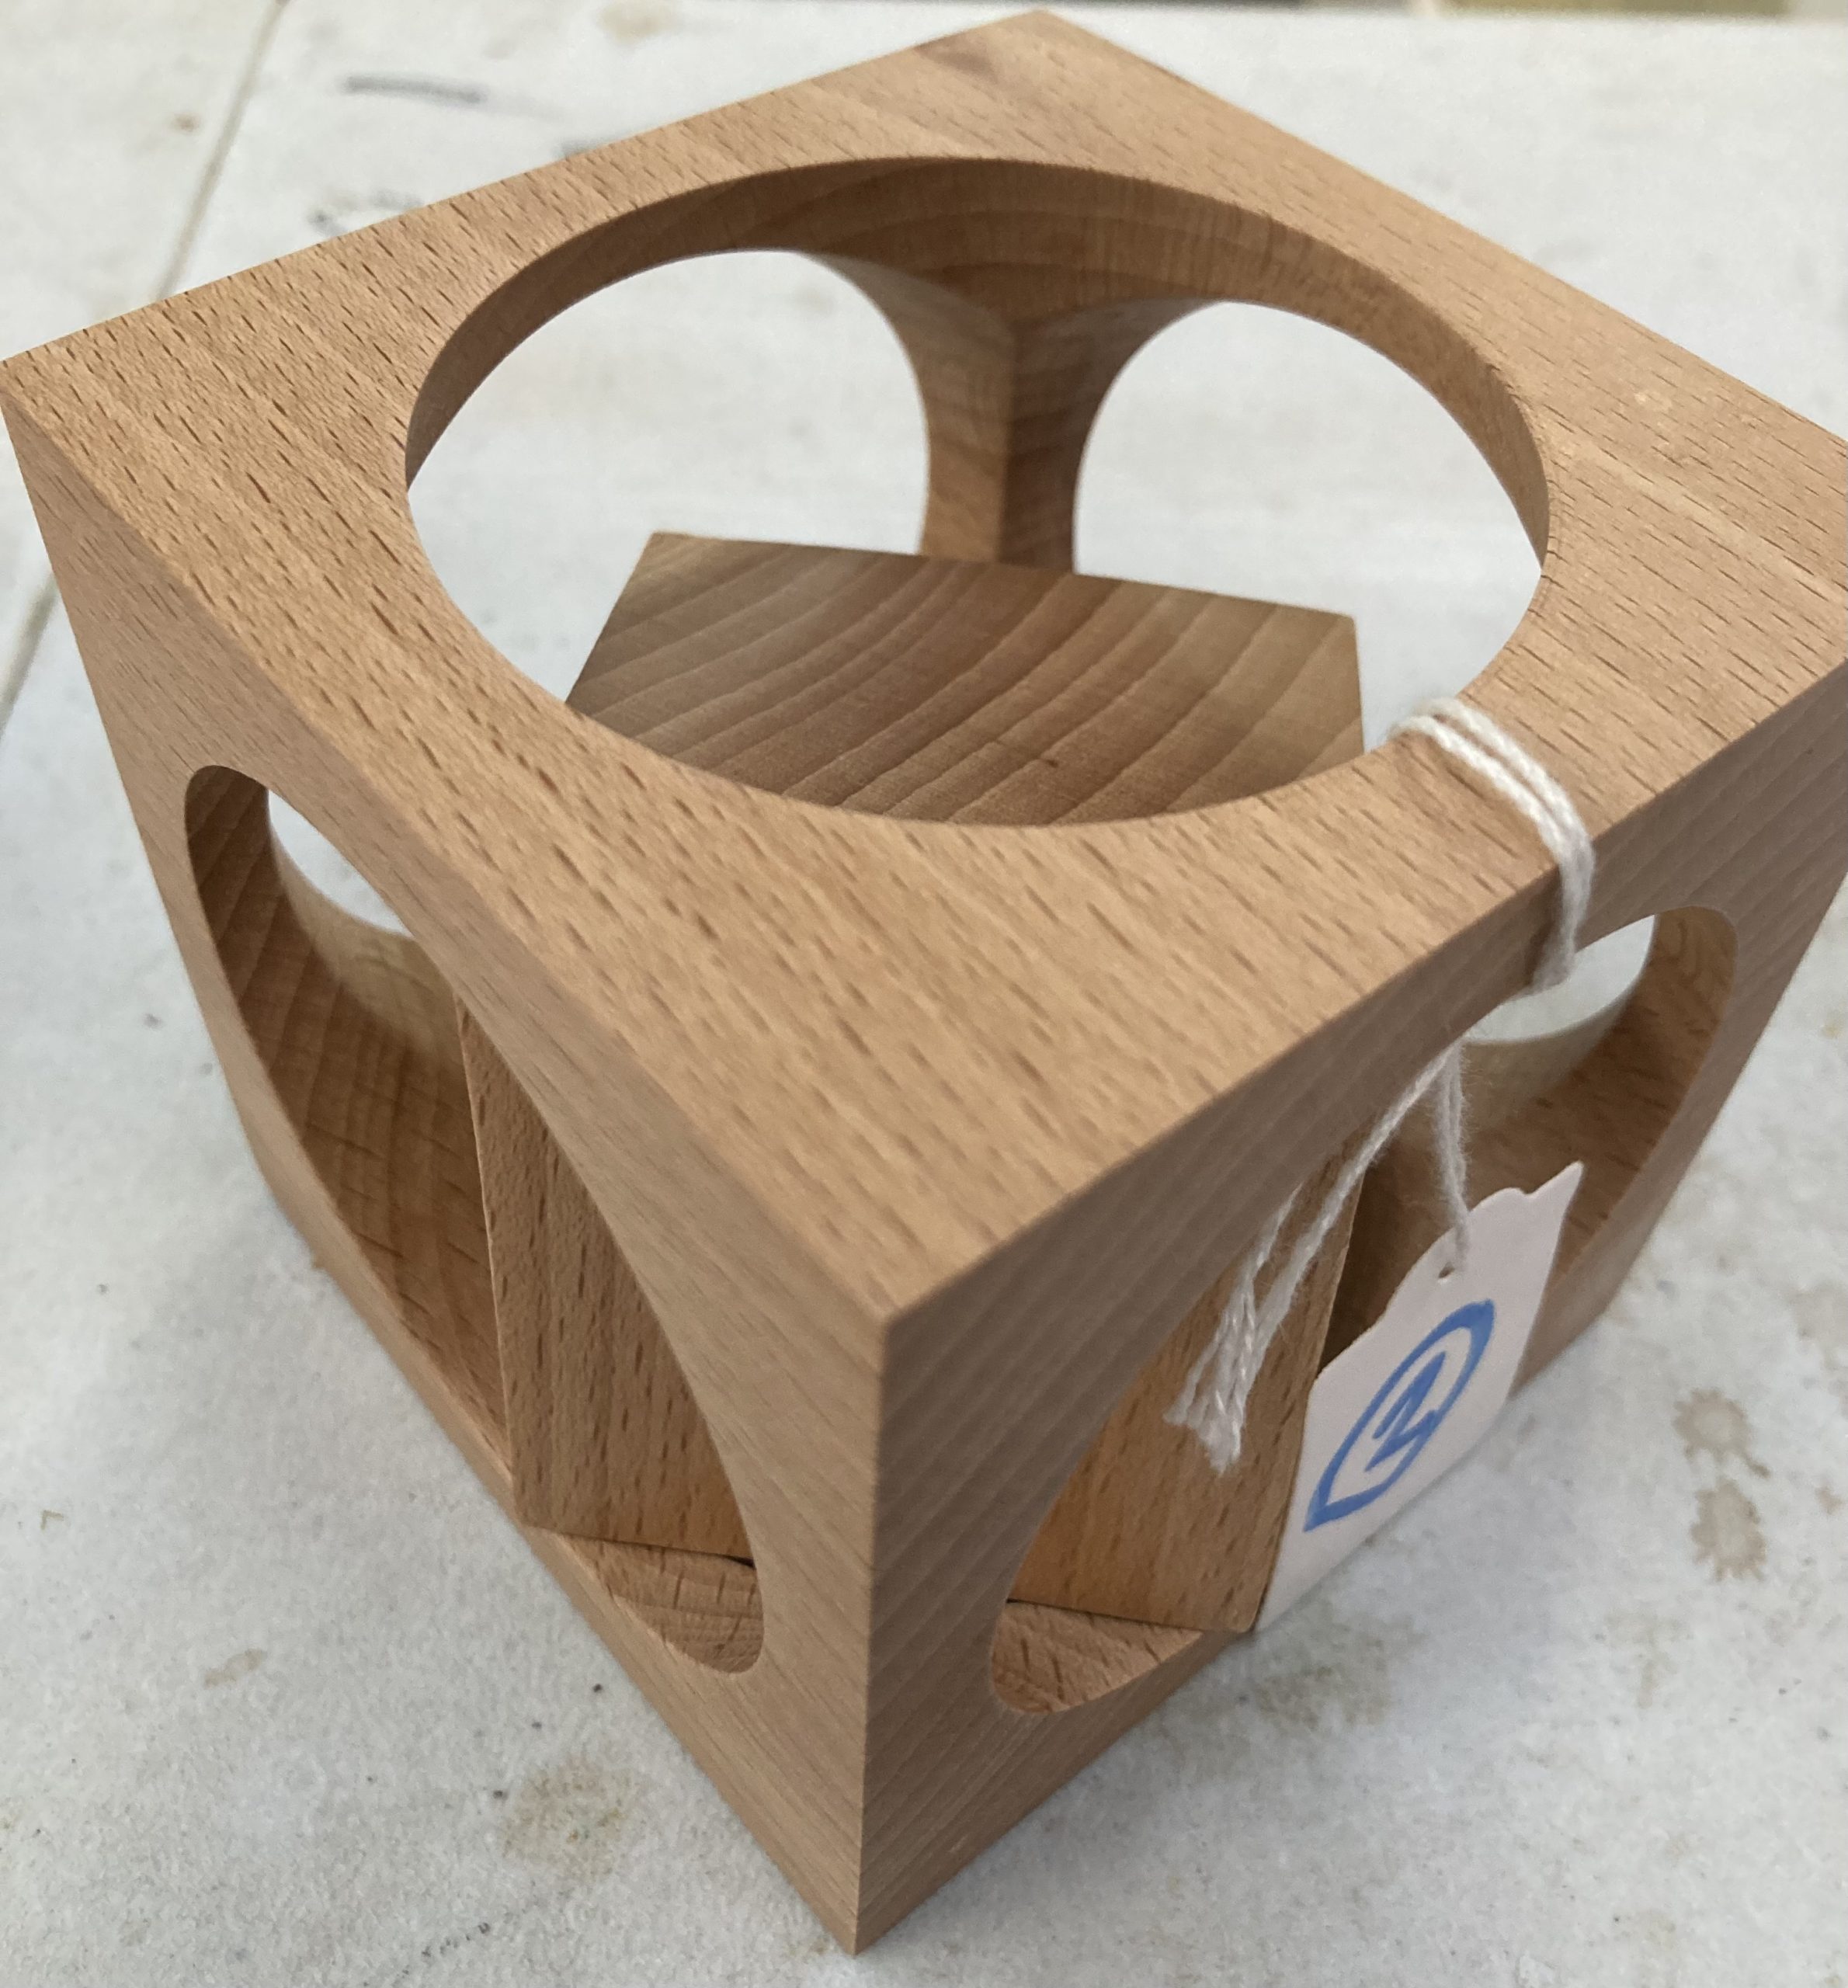
I created a 90 mm cube, made the holes 15 mm deep and 70 mm diameter. This left 10 mm around each hole to the cube edge. My suggestion is to make the first hole a bit less than 15 mm deep and less than 70 mm diameter. The angle of undercut into the dovetail is governed by the skew tip angle (or whatever other tool you use to do the undercut). Make the second hole the same dimensions and on an adjacent face. That will create the little slot as the two holes intersect and give an idea of whether you need to make the holes a little deeper (and/or wider). Once you have settled on hole size all 6 holes need to be the same, with the same angle of undercut. The inner cube can be sanded during this stage, I used a 50 mm diameter sander in an electric drill.
Ideally the inner cube will now be held in place inside the outer cube by six short pieces (ligands). If these ligands are too small (say, 1 mm) the inner cube will be pressed out of position when the last hole is made, ripping the corners. If the ligands are longer than 2 or 3 mm it will be difficult to cut them in the next step and the corners of the inner cube will be rounded off.
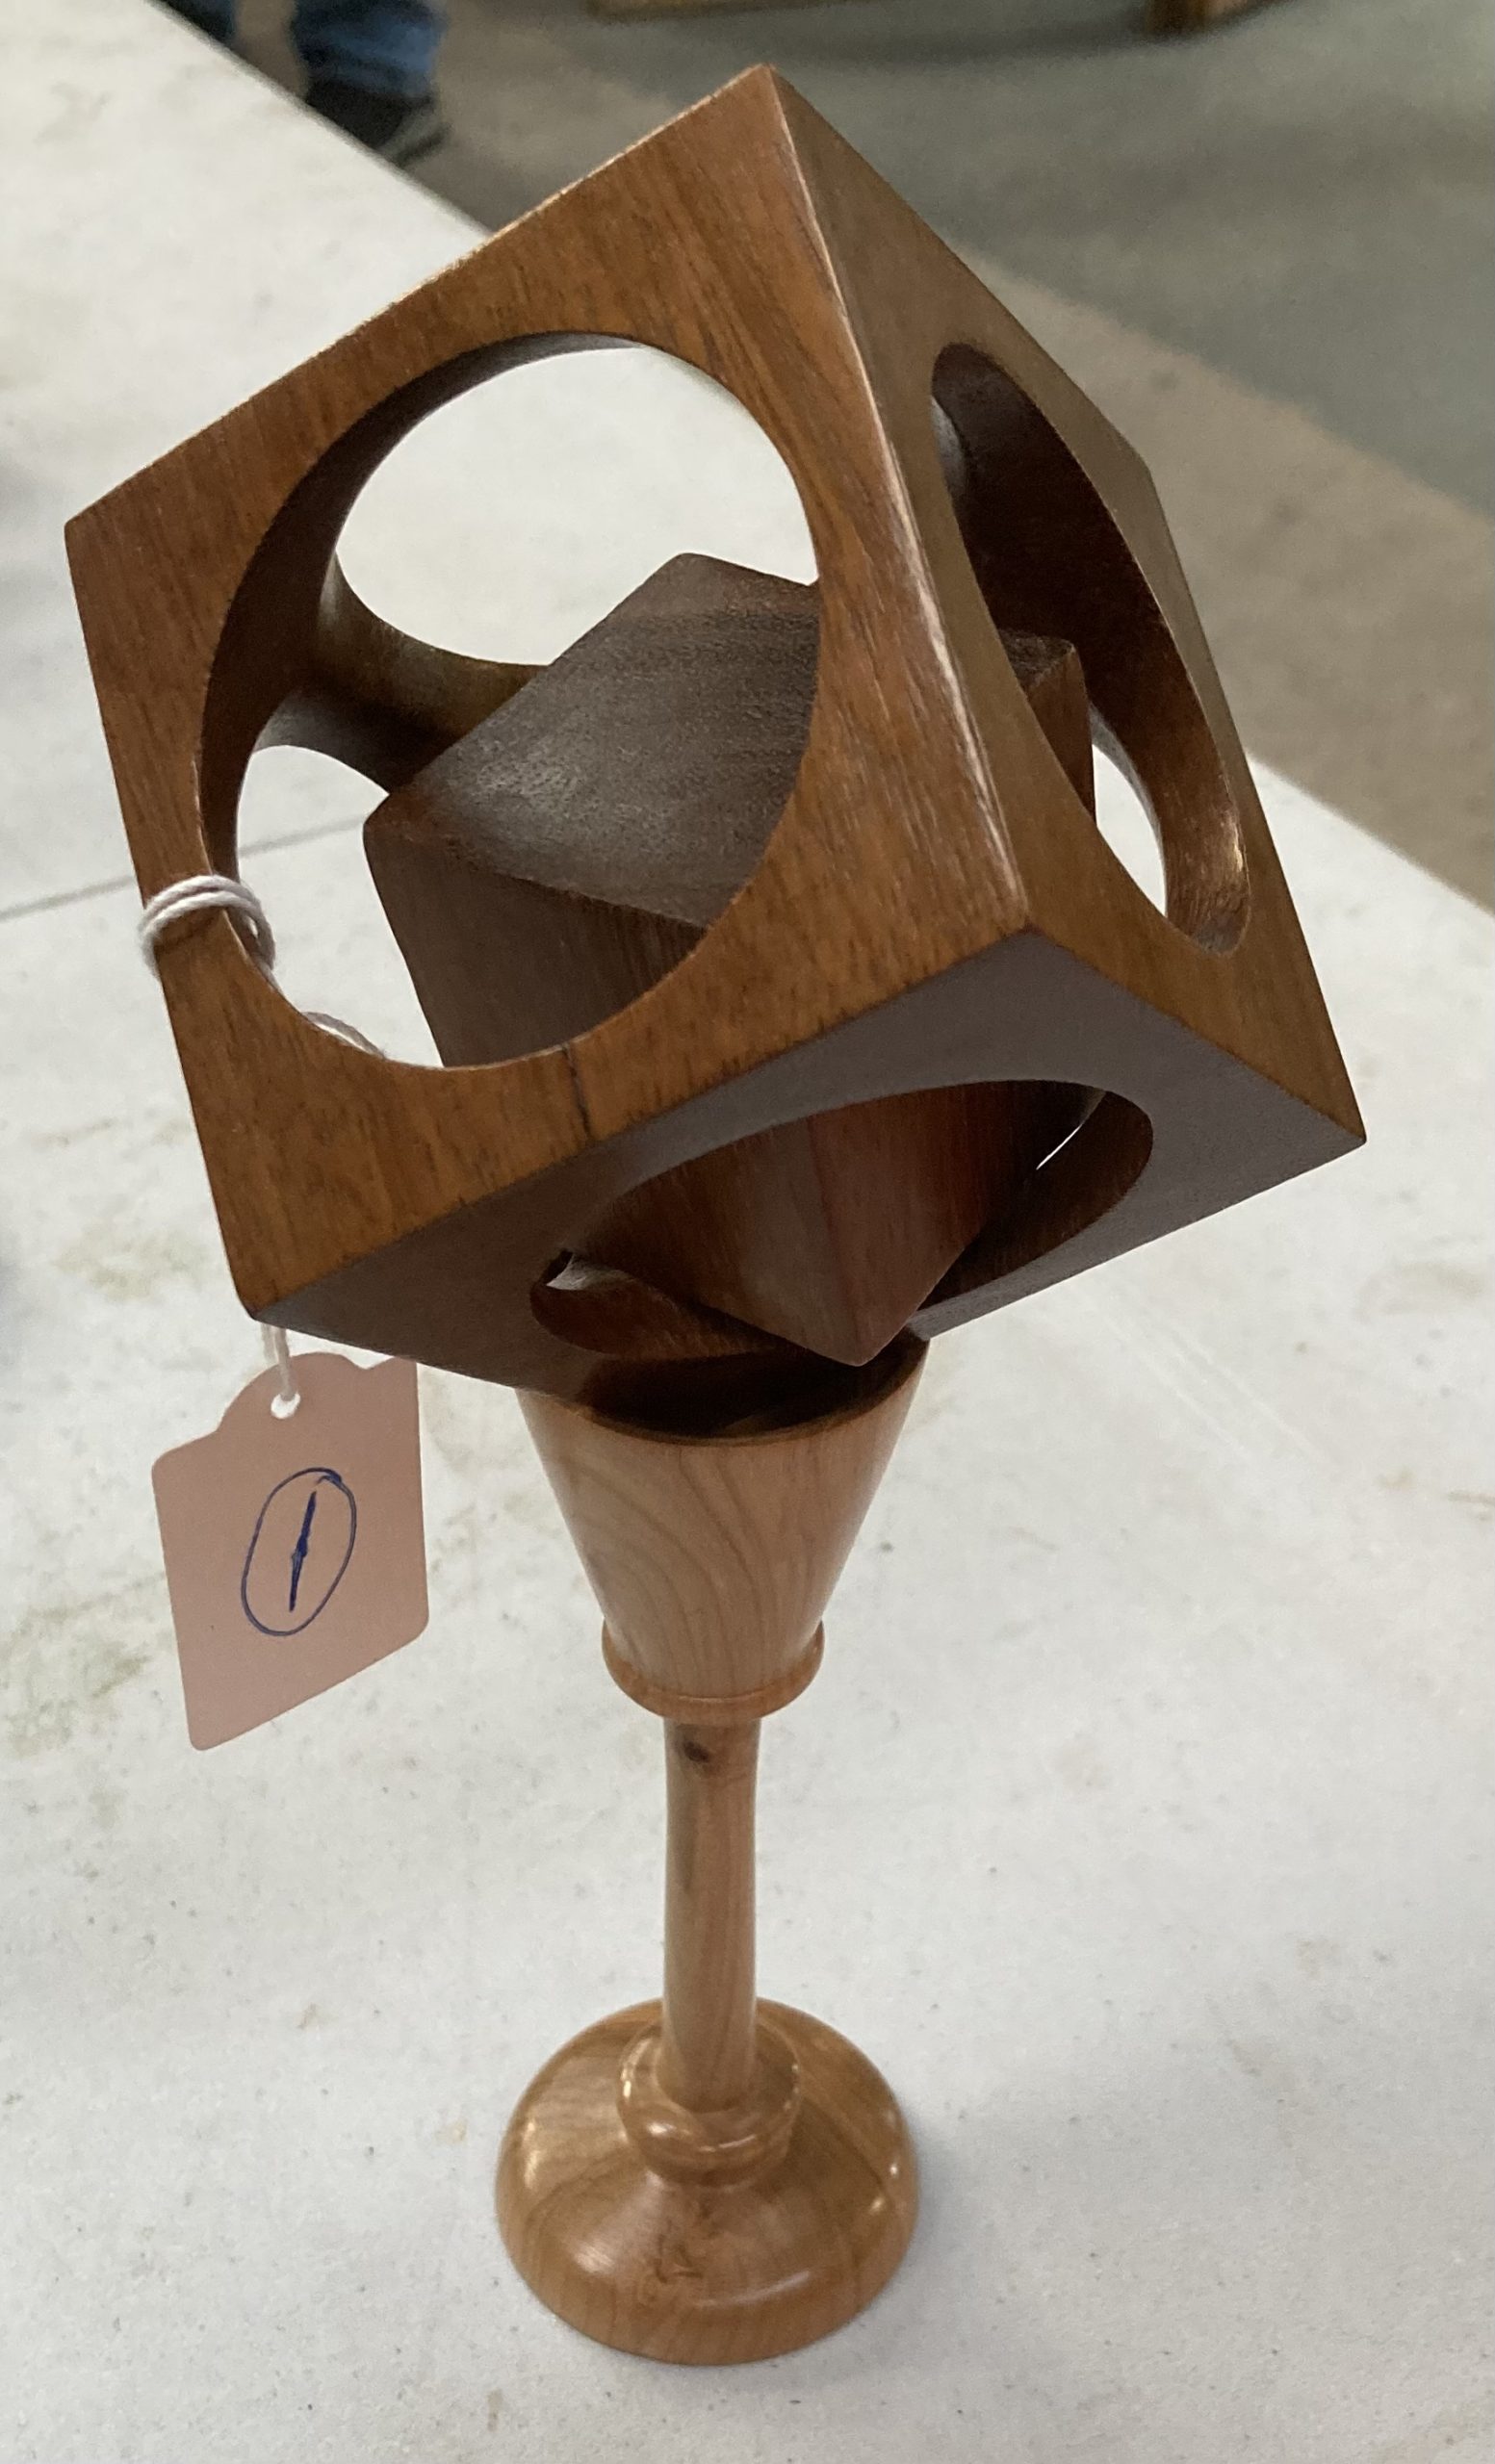
The final step is to free the inner cube. This is done with a sharp craft knife or similar. Do not press it out because you will rip the corners. A few minutes of hand sanding will tidy up the corners of the inner cube and the internals of the outer cube.
Good luck!
This is the YouTube video I saw:
Woodturning a cube inside a cube (Captive cube puzzle) – YouTube
Here is a different one using a Forstner bit:
Cube in a cube puzzle on the lathe – Woodturning – YouTube
Click below to download PDF file:
Cube in cube
Click below to download Word document:
Cube in cube