Notices – March 2016
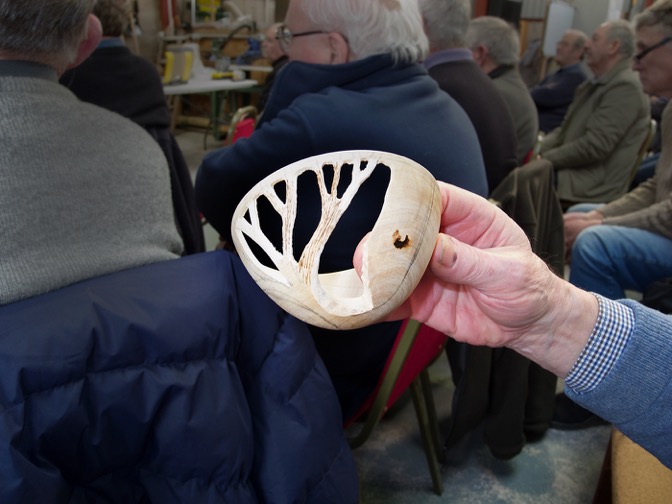
Tonight our demonstration should prove interesting with Phil and Jake producing some “Wee Critters” for our edification!!!
The wood of the month is Bog Oak presented by Judith Simpson
Next Month (12th April) the demonstration will be by myself and will concentrate on Off Centre Work
The competition will be Animals and the wood of the month is Hickory (volunteer needed)
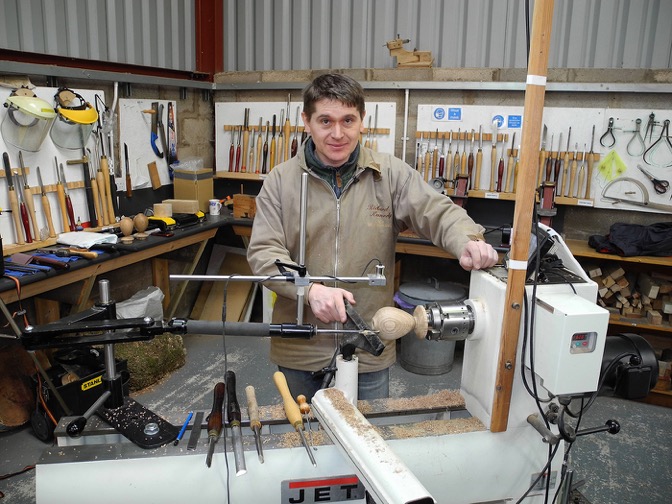
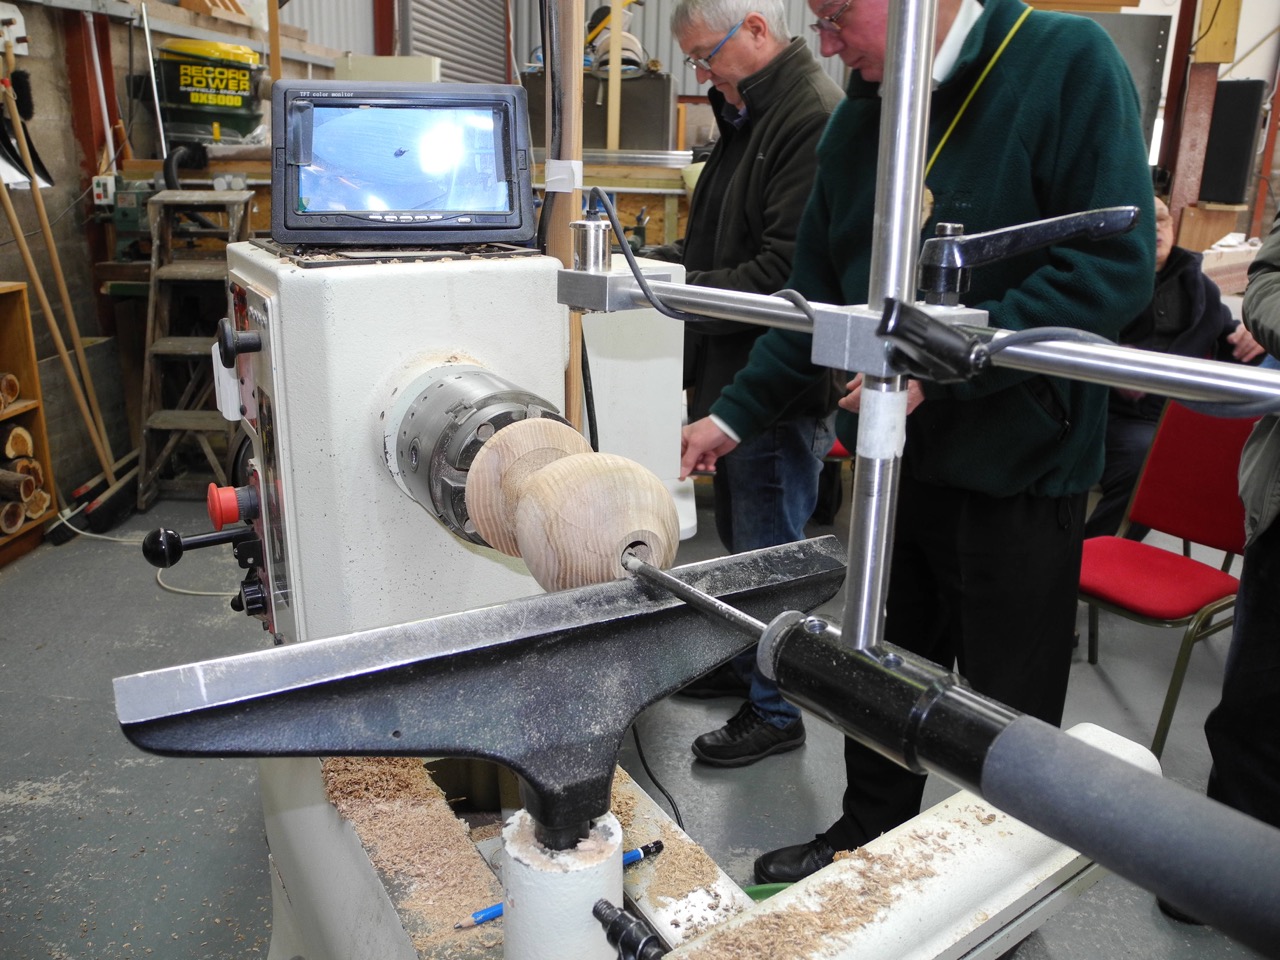
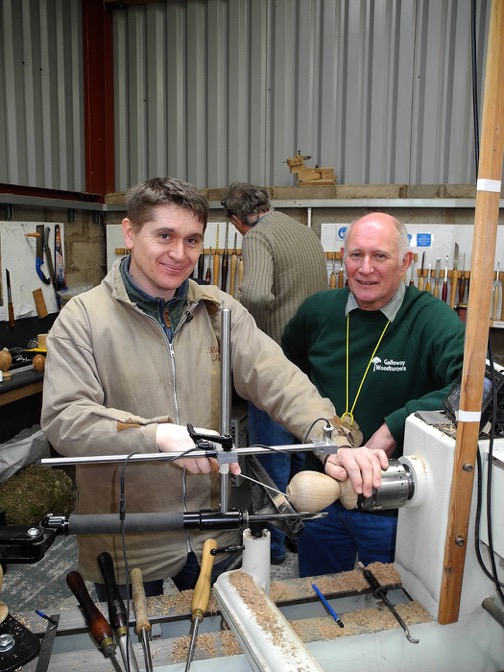
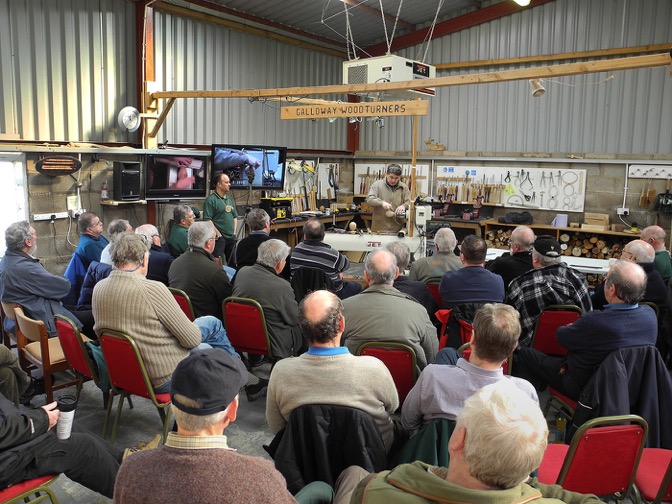
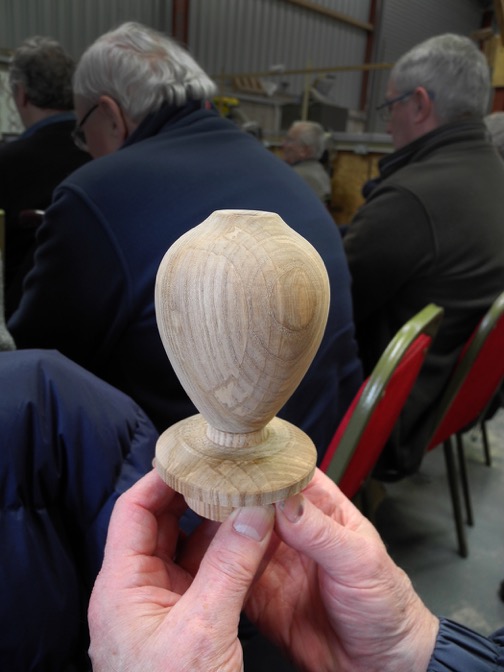
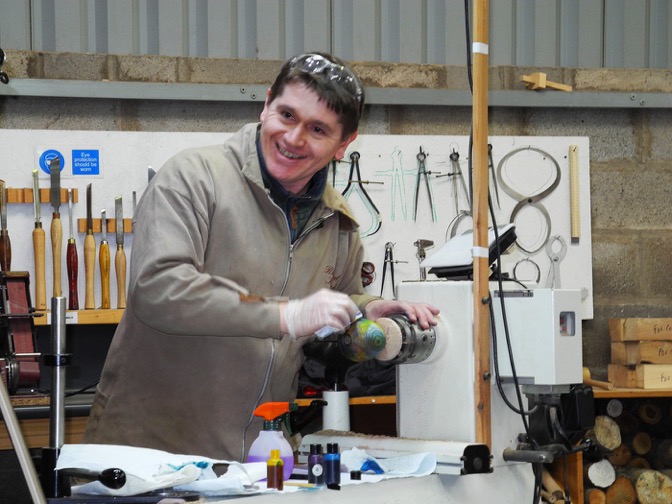
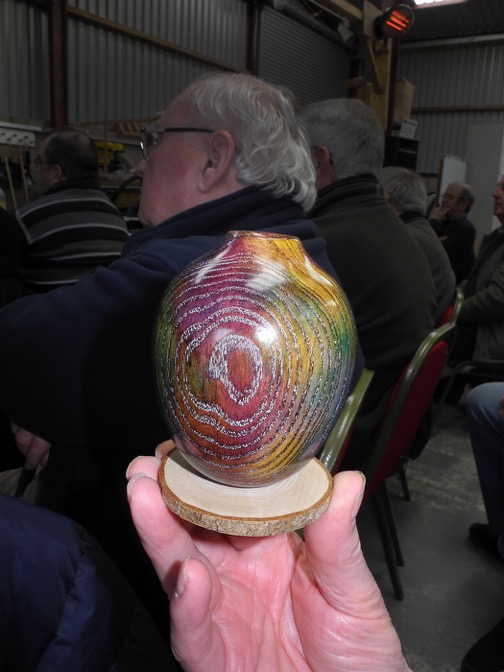
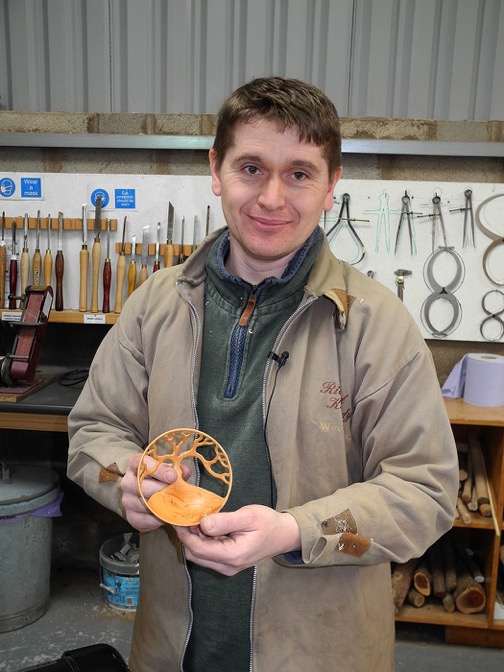
Last Saturday we had an excellent demonstration from Richard Kennedy which was well attended with people coming from both Strathclyde Woodturners and Border Woodturners. Thank you to all who help make this an enjoyable event.
Our next Professional Demonstration will be by Mick Hanbury from Lincolnshire on Sunday 22nd May. Mick is a skilful and artistic woodturner who has been turning for over 20 years. He is listed on the Register of Professional Turners as well as being a member of Association of Woodturners of Great Britain. Over the years Mick has developed a unique style of decorative finishes to his pieces and is well known for his beautiful finial boxes, elegant spiral stem goblets, and delicately patterned platters.
Again tickets are on sale from the shop – get your today..
Afternoon Turning Session – The Wednesday afternoon sessions are proving to go down well and David has agreed to continue for the time being. The session runs from 2pm until 4pm. These are not aimed to be teaching sessions in themselves, members should be able to work by themselves; however help is at hand for any advice needed.
Dust Masks – Last Saturday quite a number of people expressed interest in purchasing the dust mask used by Richard Kennedy. I now have 18 of these on order and they will be in the shop asap.
Club Purchasing Offers
www.pen-kits.co.uk are offering special offers to clubs where members combine orders.
If club members combine their orders, will they save on postage costs, they will also include free bushings for every kit style bought.
If you are interested, please see their web site and then let me know of your interest.
Events and Demonstrations at G&S Specialist Timber
Woodturning by Chris Pouncy: 14 April. Woodcarving by Michael Painter & Peter Berry: 23rd & 24th September. More information see; www.toolsandtimber.co.uk/events-demonstrations
Launch of Europe’s largest woodturning competitions
Created for both amateur and professional woodturners, The Worshipful Company of Turners has launched its 2016 Competitions. Entries will be judged and displayed at Carpenters’ Hall in the City of London in October, the 2016 Competitions will be the largest event of its kind in Europe.
All entries registered with the Turners’ Company by Monday 12 September and received by 11.30am on Tuesday 11 October will be exhibited as part of Wizardry in Wood.
This is expected to attract several thousand visitors between 12th and 15th October at Carpenters’ Hall. Further information at: www.eventbrite.co.uk/e/turners-company-2016-competitions-tickets-20942012122